On this page
I had a request from a customer running a 10-day event where attendees are permitted in certain areas. There will be in excess of 500 attendees who will all be issued passes that indicate which area they are permitted in, and the pass could include a QR code. Each of the entrances to the different areas will be staffed where passes will be checked. The different areas have capacity limits due to fire, Health & Safety and COVID-19 reasons. The event is away from their normal infrastructure so they can’t rely on the normal access control systems we’ve become familiar with. The customer felt a more automated approach to access management would be beneficial. They also run similar events throughout the year so any investment would be reusable. I’d have preferred to break open the microcontroller toolbox and build some IoT-based pass readers, but the customer wanted to use the Power Platform and their existing M365 investments.
I started off with my usual design-first approach, sketching out some wireframes and mapping the customer’s requirements back to wireframes and building out personas, user journeys and the solution architecture. Part of my wireframes led me to want to verify the barcode capabilities and reassure myself with the approach. I’ve built a number of solutions that have used both the old web barcode scanner and the more modern barcode scanner. While those solutions were a great success I never felt 100% satisfied with the scanner capabilities. I often found it hard to scan barcodes or would have to scan them multiple times, increasing the overall time to complete a task. This is where my caution originated, particularly creating a contact-free event access management solution to reliably handle such high footfall.
Microsoft Industry Solutions featured the project: “When a customer needed help with event access management, #MSFTConsulting’s @jamescallaghan went to work prototyping a solution using the Power Platform and their existing Office 365 investment.”
Barcode scanning capability comparison
One of the advantages of the web barcode scanner control is that it worked on desktop and mobile and was visible on the screen, which made it very obvious to an end-user to scan something. The control is obsolete because of poor performance, and the mobile Barcode scanner control replaces it.
The mobile barcode scanner control is limited to Android and iOS and requires activation to enable the camera to start scanning.
There are some tricks to activate scanning but this can make editing and use between desktop and mobile hard, particularly if you fall down the trap of activating scanning via the OnVisible action of a screen. At this point, you will lose the ability to edit the screen and instead get a warning about the control only working on Android and iOS.
Another option is to use a hardware barcode scanner. This obviously isn’t a native control to Power Apps as it is effectively just a keyboard, but there are lots of different styles of barcode scanners out there so they should be considered too.
Hardware barcode scanner comparison
After building out a proof of concept using the mobile barcode scanner and after numerous failed attempts to read a QR code, it was obvious this wasn’t going to be a solution I could rely on. So I decided to take a different approach. I knew barcode scanners are seen as a keyboard when connected to a device. I switched out the mobile barcode scanner control for a simple text field, then processed any entered text using the OnChange action with a text input control. I knew this was something I could try with a barcode reader, so I bought a couple of units to test. I could have just used a cheapo barcode reader gun, but I wanted something similar to those used in the final access control entry point solution.
The first is similar to a checkout barcode reader, a Lenvii E688 wired USB barcode scanner. It has a really helpful LED activated by nearby motion. It scans incredibly well and has an adjustable beep to acknowledge each scan. I tested it on my Windows 11 machine and on my iPad and iPhone with the help of one of those USB-to-appropriate-device dongle adapter thingy-mac-things.
The other, an Alacrity Bluetooth barcode scanner, is a handheld Bluetooth and wired reader. It too has an LED and has the longest range of the two when reading barcodes. It also comes with a base that allows the reader to be docked for continuous scanning, with the LED on continuously. The dock makes for a great pass barcode reader. Another benefit is that it connects via Bluetooth and therefore allows the barcode reader to be placed in a more accessible location without being prohibited by cable length. The barcode reader can also be removed from the dock and used in wireless handheld mode if needed.
The event access management and entry control app
I built a single app that could be used for the different tasks required to manage the attendees and passes for the event. The solution includes attendee registration and allocation of passes at the start of the event, attendee and pass management throughout the event, tools for Fire, Health & Safety marshalls such as capacity tracking and muster point registers, and entry control pass scanning. I won’t go into detail on the full solution but will instead concentrate on the entry control features.
Entry control
The key part for the entry control task was that it should be fast, contact-free and act as a companion to support the person staffing the entrance. There are no fancy airlock doors or barrier systems preventing someone from entering, nor is there likely going to be any rule-breakers storming in when not permitted. The entry control part of the app speeds up whether someone is permitted in that area and provides clear visual aids to the entrance staff.
Rather than place two devices at each entry point to handle people entering and exiting, I built the app to support both from a single entry point device. If you have scanned in successfully and entered, then scan again when leaving, it will acknowledge you have left the area and remove you from the current capacity headcount.
Scanning a pass to gain entry, then scanning the same pass again when leaving.
The thing with the barcode reader approach is that it requires a text input to place the scanned barcode text into. In a kiosk-based solution, this isn’t great as end-users can “play”, so I set about hiding the control from the screen. First I made the control hidden, but that prevented any input from the barcode reader. I then tried changing all the controls’ colours to match the background. While this made the text input mostly hidden, I was still left with a flashing text cursor that I couldn’t hide. Finally, I set the width and height of the control to 0.
There is one problem though. You must use SetFocus(TextInput) to place the text cursor into the text box. This resulted in the ability to scan barcodes while not showing anything on the screen.
Want more like this? Have a poke around the app dev topic page. 500 attendees over ten days, scanned through one hidden text input. That’s the kind of low-code-no-code stitch-up I’ll keep reaching for.
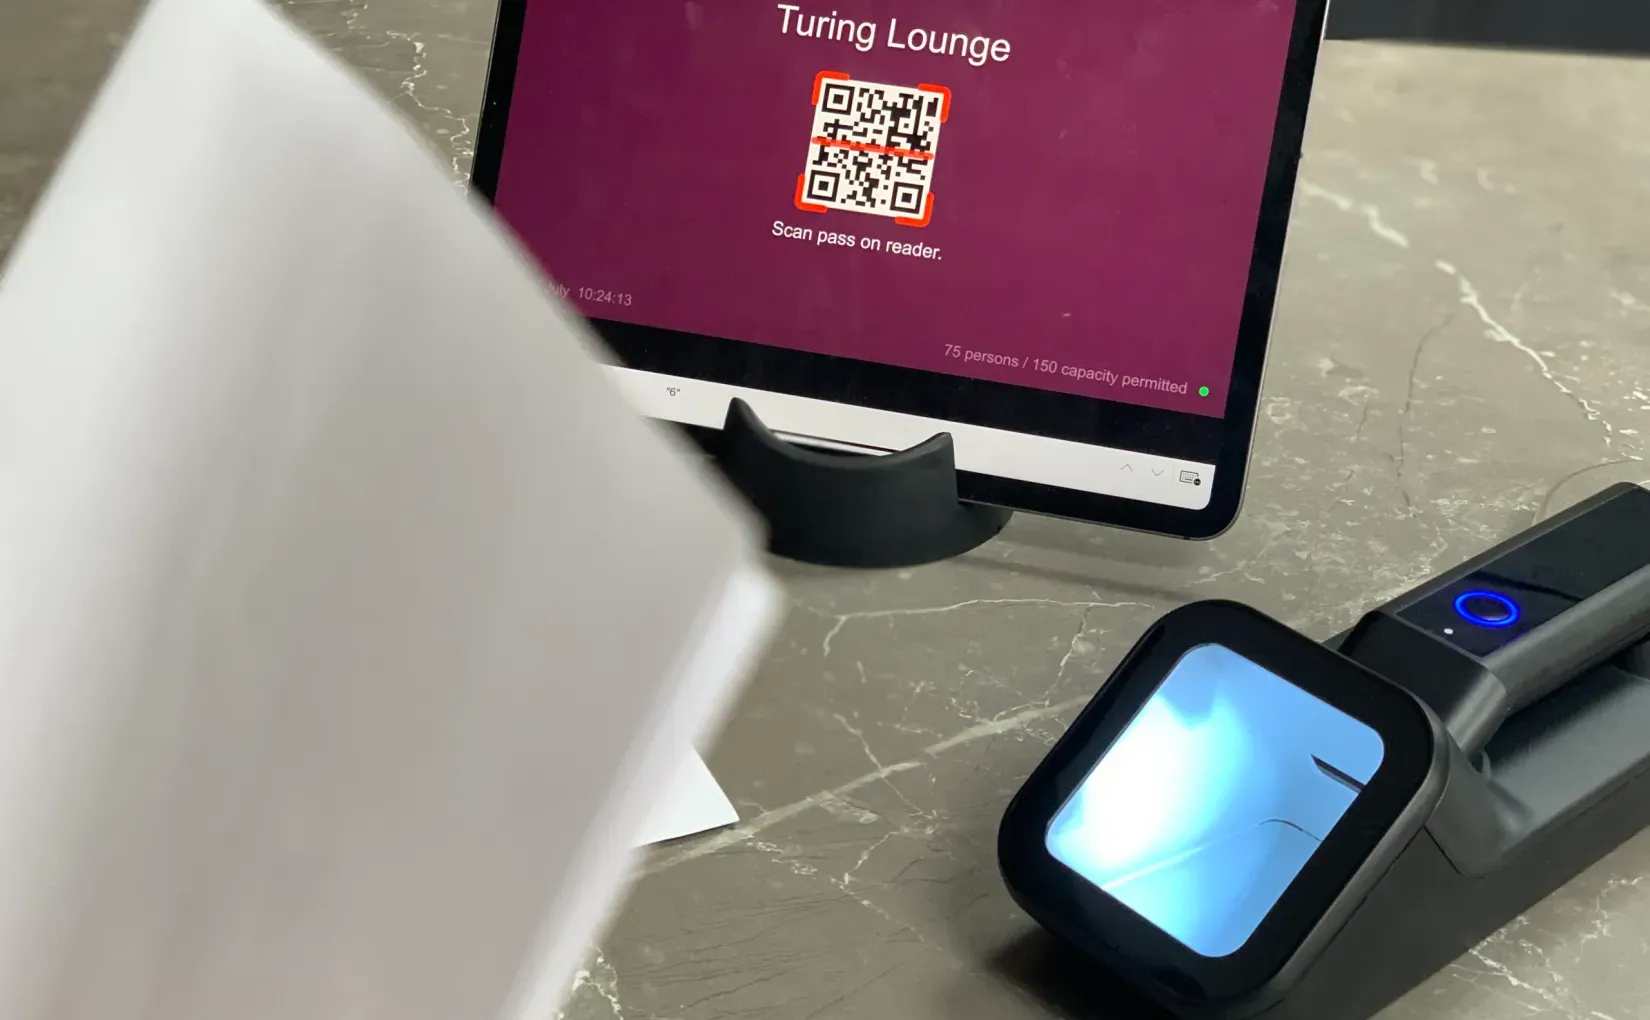
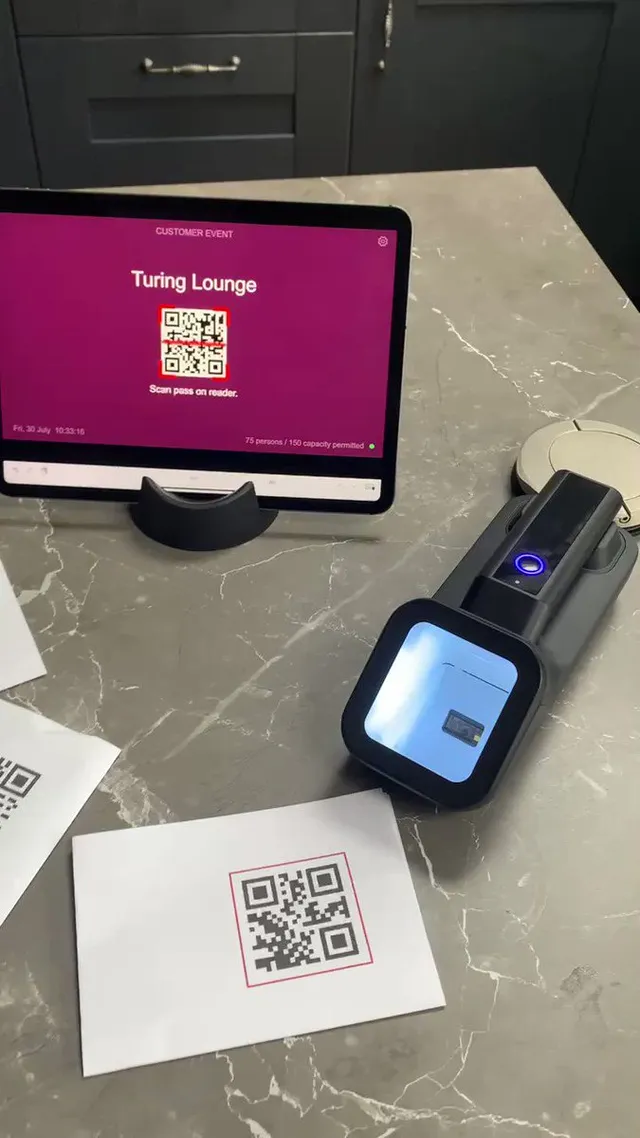
Bonus. A tablet holder arrived just before I published this post, so here are a couple of early shots of the reader and tablet together to test how this could work for the event.